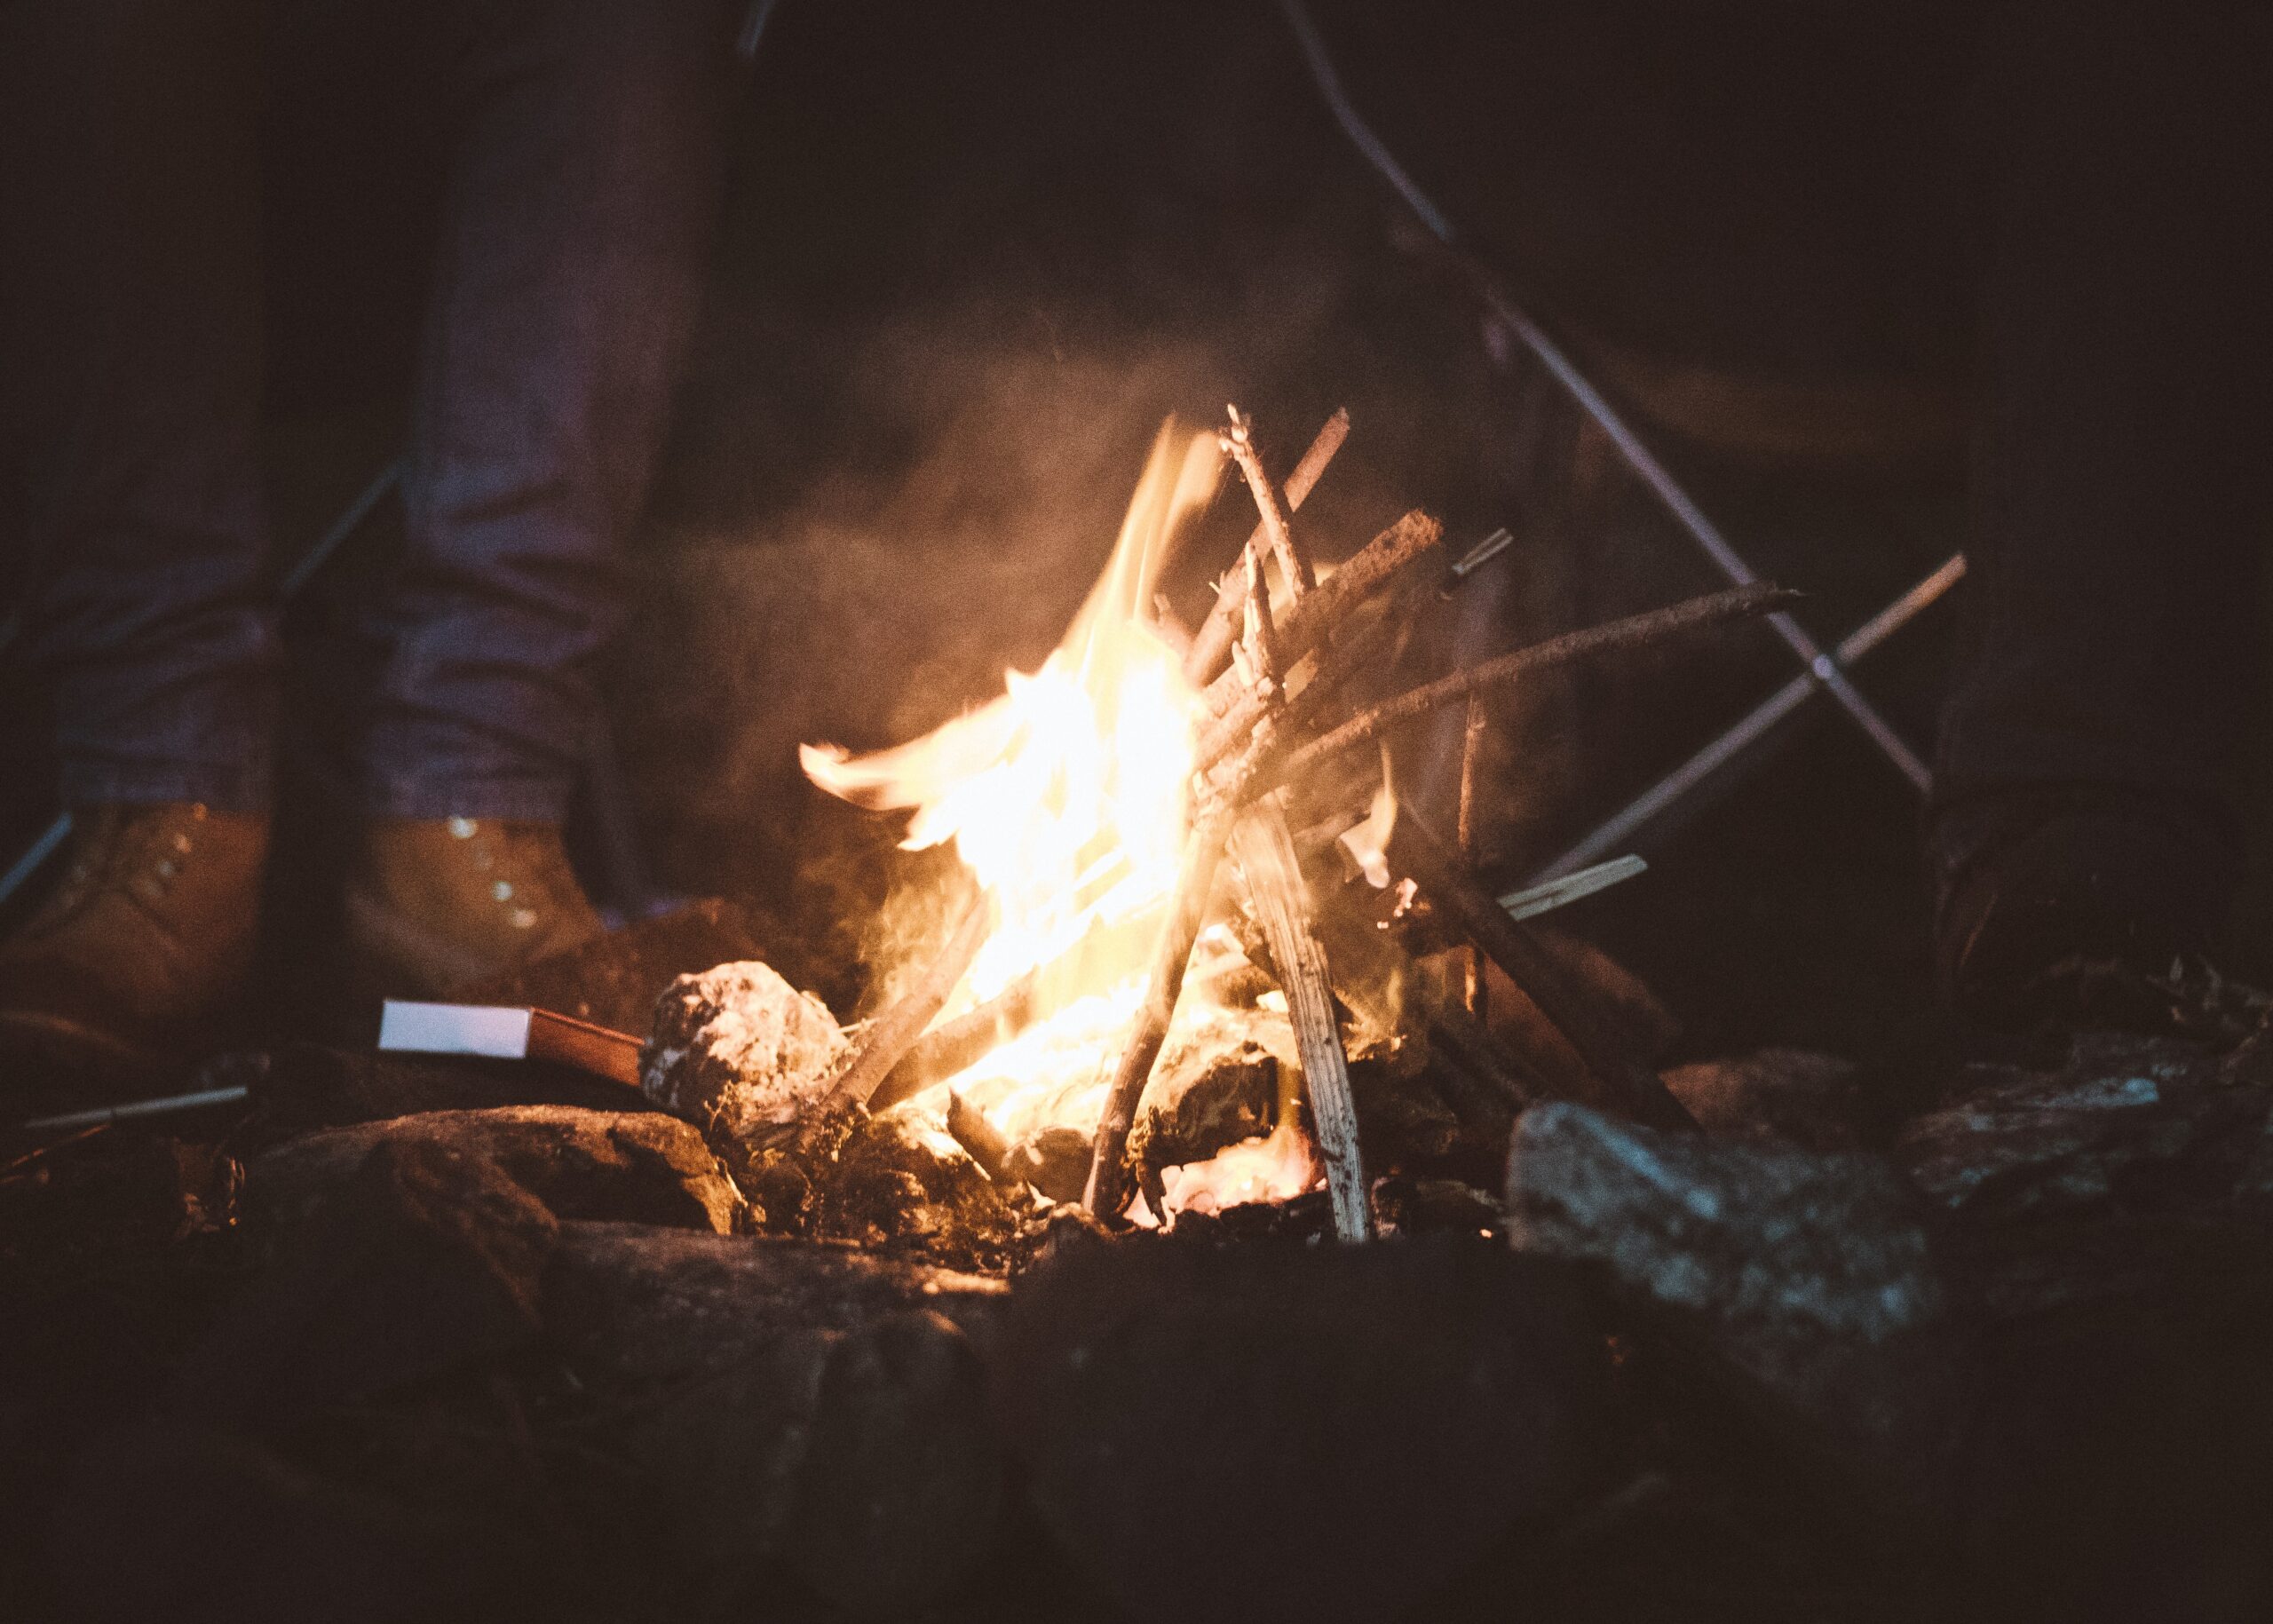
Camping campfires are what make a camping experience perfect. If you miss out on these, you’re missing out on a lot of things. However, it isn’t possible for making campfires every time, as there might be a scarcity of resources, or the campers might not have an idea about how they can make a campfire.
To save you from that misery, we’ve written this piece elaborating on camping campfire starters under every condition. Just make sure you read this and remember it before going camping, as you might not get the opportunity of reading it out in the wood due to network problems.

1. Create a Fire Ring
If you are lucky, your campsite has a fire ring or pit already. Before creating a fire ring, you should be careful whether you can build a fire ring there or not. You should always build fire rings near your camp, and never build them in bushy areas. Even if there’s minimum vegetation around you, you should avoid building a fire ring, or you may start an outbreak.
If you can’t find a bare place, you can dig the vegetation out of a small area to make it perfect for lighting fire. Make sure there isn’t any grass are moist vegetation in that place. Once it’s free of plants, create a bed in the dirt that’s 4 inches thick.
2. Gather Wood
There are three types of woods that you need for lighting a perfect fire. If you miss out on a single type, the fire won’t last. Why? Let’s find out!
Tinder
The first thing you’ll be needing is tinder wood. Tinder woods are fast burners, that is, they catch on fire rather easily. Things like dry grass, dry leaves, bark, and wood shavings can act as good tinders. However, that doesn’t mean there aren’t other things. You can carry char clothes and dry lint from your home. We highly recommend you carry your tinder, or you might be in trouble if it rains.
Kindlings
Tinder is a fast-burning wood, and they won’t last long. So, you need something to make your fire last. But note here, transitioning to the big chunky logs is a pretty bad idea, and the fire might not be great enough to keep those burning.
The right thing to do would be to throw small twigs and branches in. I’m talking about branches with the width of a pencil. These will keep the fire burning.
Fuel Wood
Fuel woods are the ones that come at the width of your arm, and these should be put at the very last. These woods will burn for a long time, and they will make sure that the fire keeps burning.
It’s a common misconception that fuel woods need to be very big, and you should forget you ever heard it. The size we mentioned is quite enough, and you’ll do fine with that.
3. Build the Campfire Structure
There are three ways you can build your campfire (assemble the structure of your initial fuel wood). Here are the types:
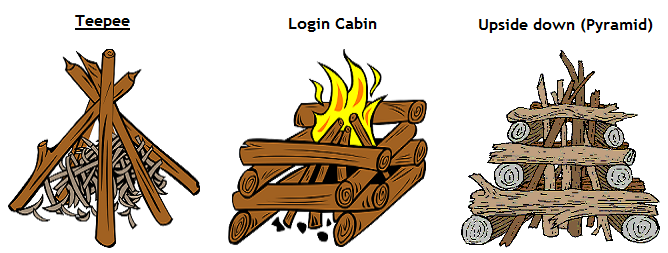
Log Cabin
The log cabin is an easy structure to do. At first, you need to place two logs parallel to each other on the fire bed, and you must have two parallel logs on the previous two parallelly. This has to be done, making sure that there’s enough space in the middle. You must put tinder in the middle, and the logs must be surrounded by layers of wood.
In the end, you must finish the structure with a layer of kindling on top and another layer of tinder. The specialty of this structure is that the fire will be rekindled once again after it touches the tinder at the center.
Teepee (Cone)
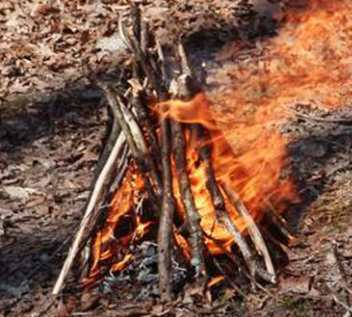
The teepee or cone is one of the most famous ways of making a campfire. In this method, the tinder is placed at the very center, while the kindlings are set at a teepee or cone structure surrounding the tinder. This arrangement makes sure that the kindling catches fire as soon as the tinder catches fire. After the kindlings are burnt halfway, you must put the fuelwood in to ensure the longevity of the fire.
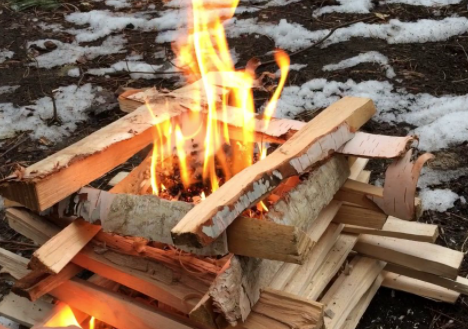
Pyramid (Upside down)
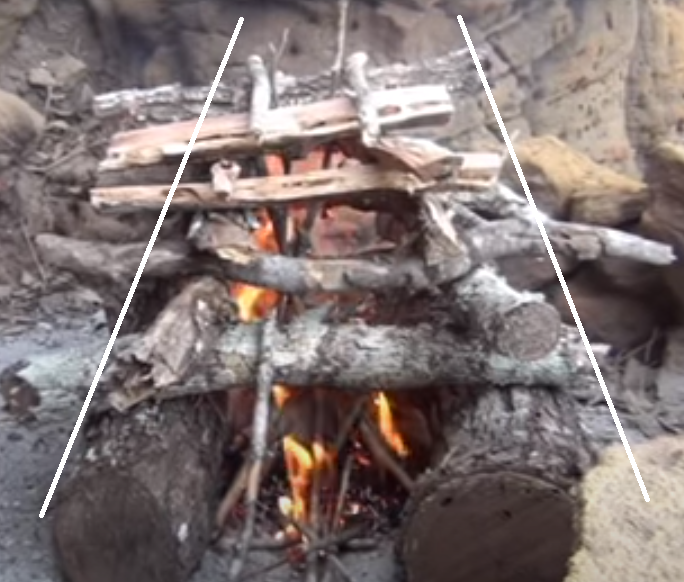
The pyramid or upside down fire is similar to the log cabin structure. You put parallel logs from the bottom and keep stacking more logs on them in a periodic way, and the logs will get smaller with each layer. Once you stack them up to a considerable amount, put a layer of tinder and kindling on top to finish the structure.
4. Start the Campfire
At the last stage, you need to light it up. You need a piece of cloth or a dry kindling. Light any of these up using a lighter, and once it’s lit, place it on the top of the wooden structure. You may need to blow into the fire to help it, but once it’s lit, there won’t be much left to be done.
You can use the followings as camping campfire starters:
- Paper
- Petroleum jelly
- Fuel
- Toilet paper
- Steel wool
- Corn chips
5. How to put out a campfire
It is common to let a campfire burn itself out after you are done using it as it provides additional warmth, however if you need to reduce the flames the easiest way to put it out is with water.
Conclusion
Congratulations, you should now have created a successful campfire! Enjoy your smores and campfire stories.
Now that you know the various methods of lighting up a campfire and about various camping campfire starters, hopefully, you’ll be able to able to set one up perfectly. We highly recommend you memorize these procedures and try them on a miniature scale before you travel. Doing so will leave you with more experience, and you won’t have to think twice when you’ll camp for real.